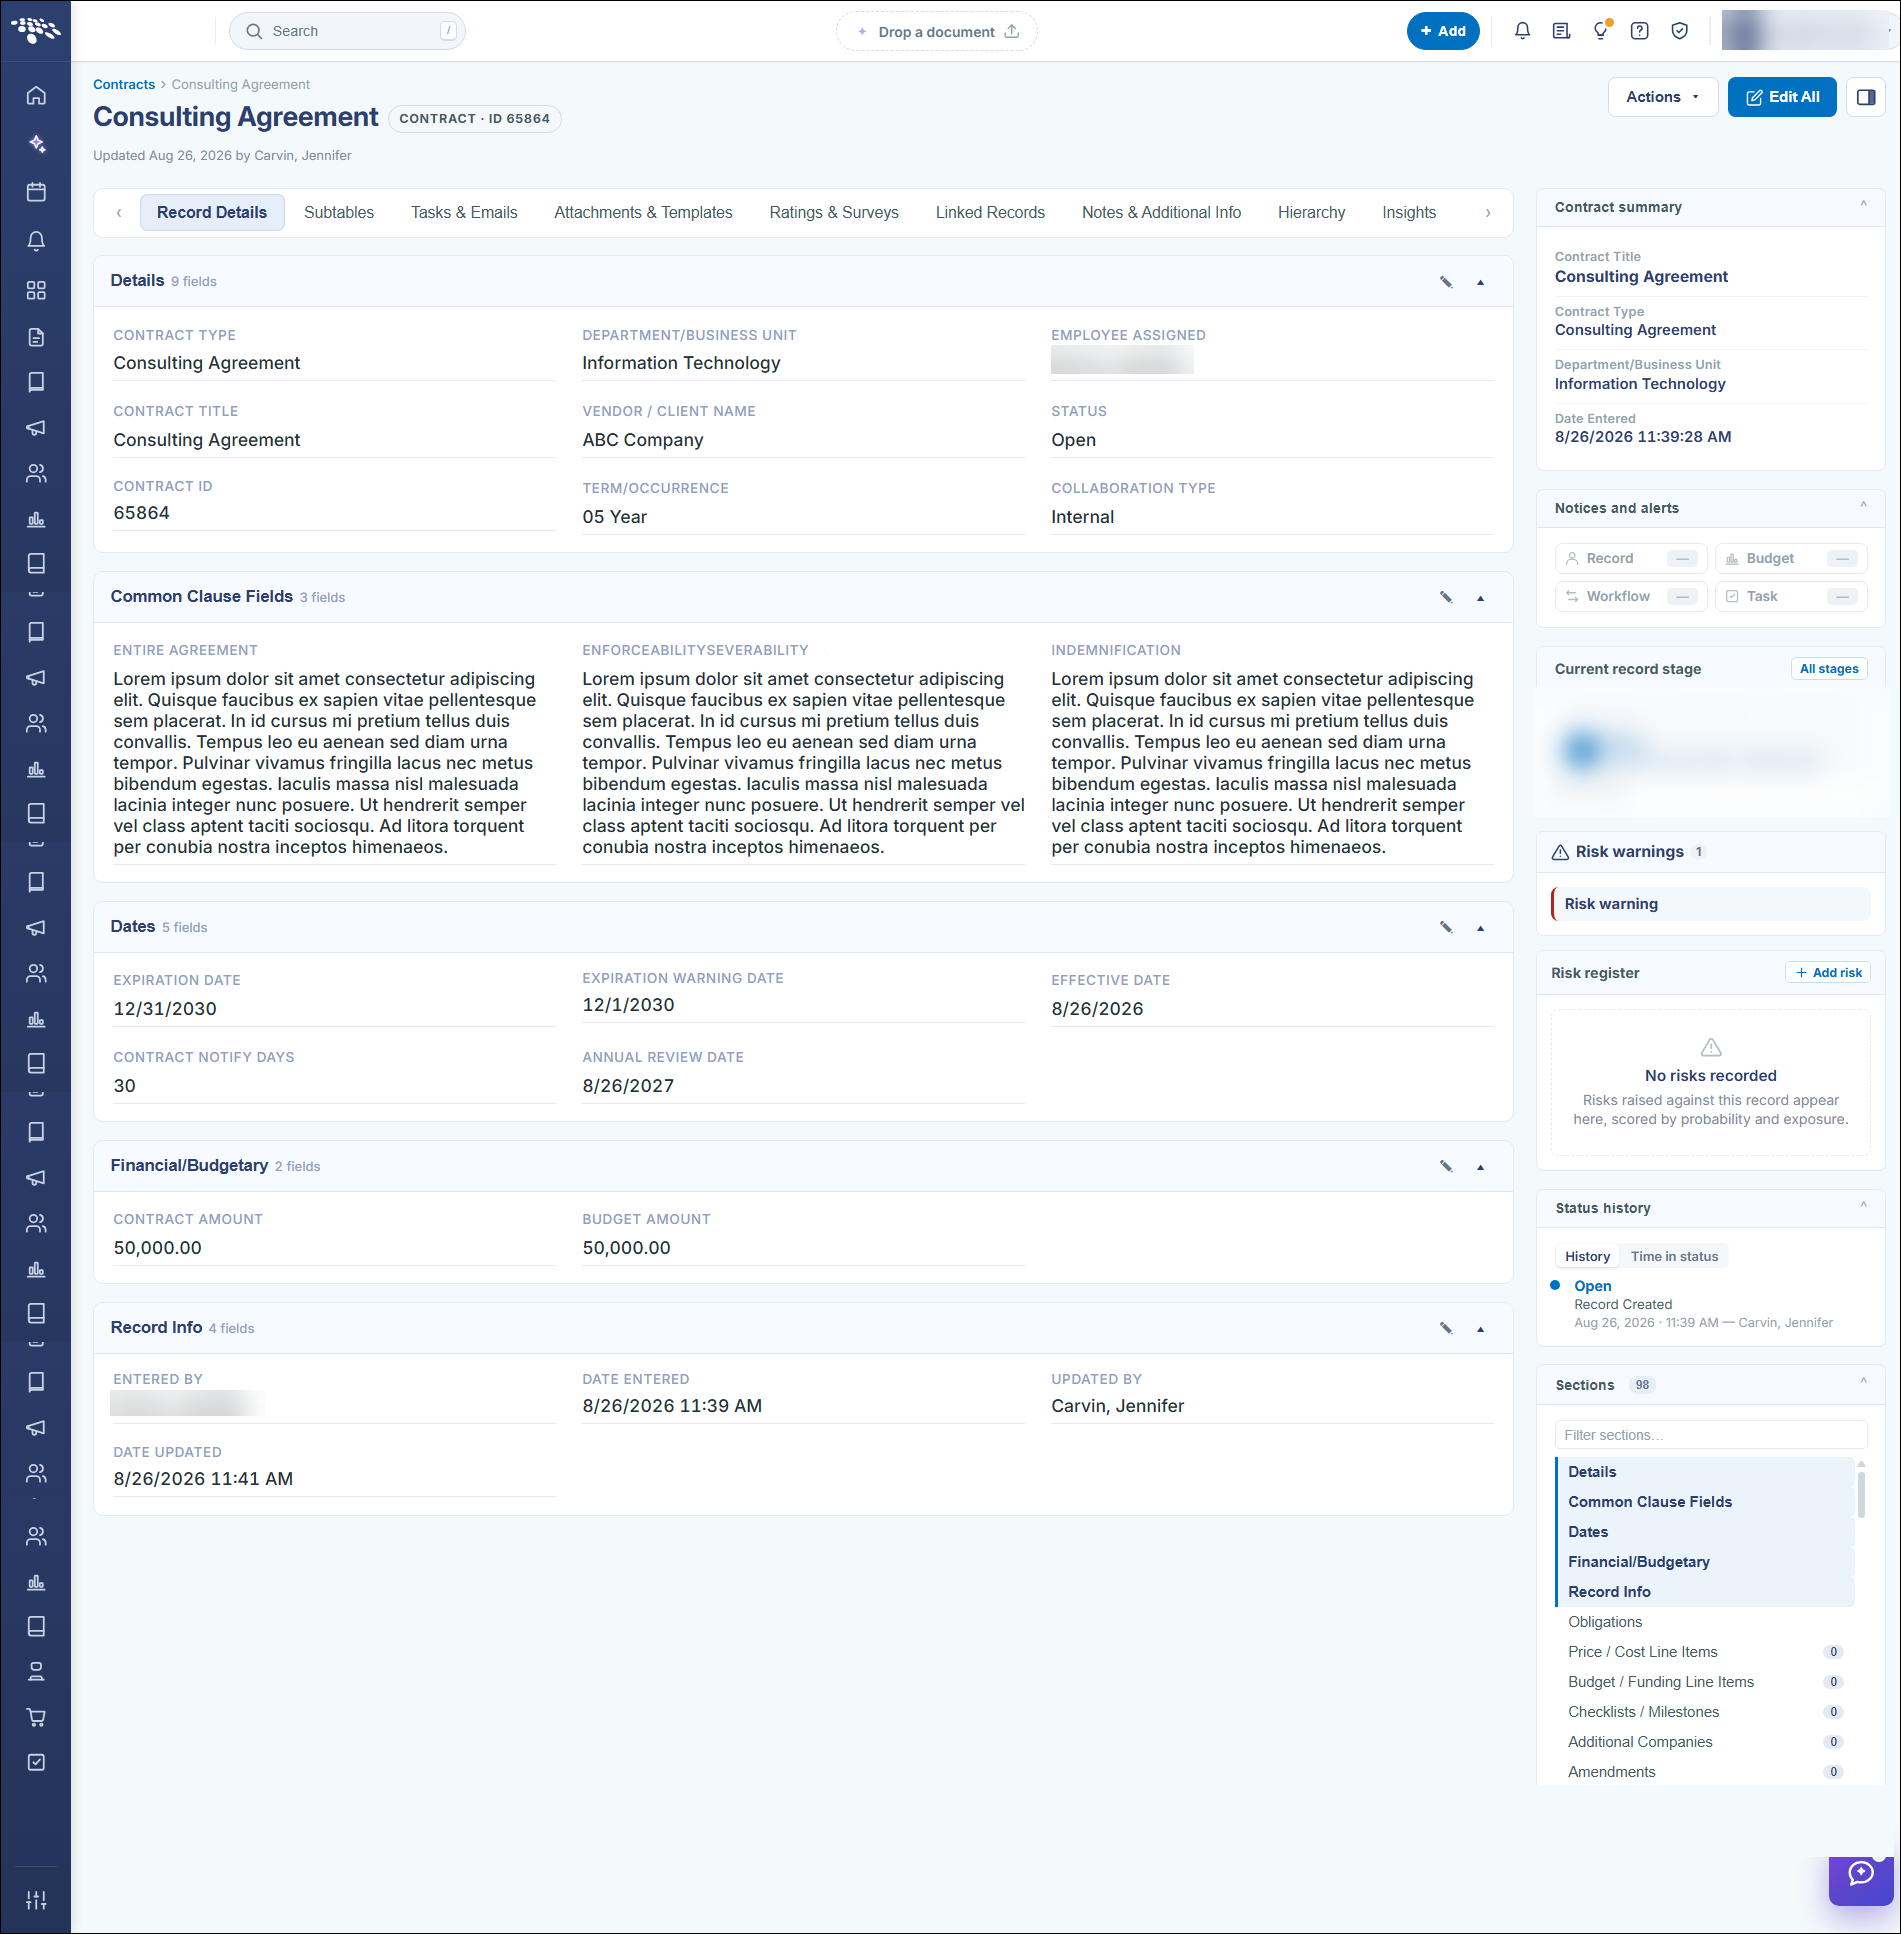
Add a Contract Record
Add a Contract Record
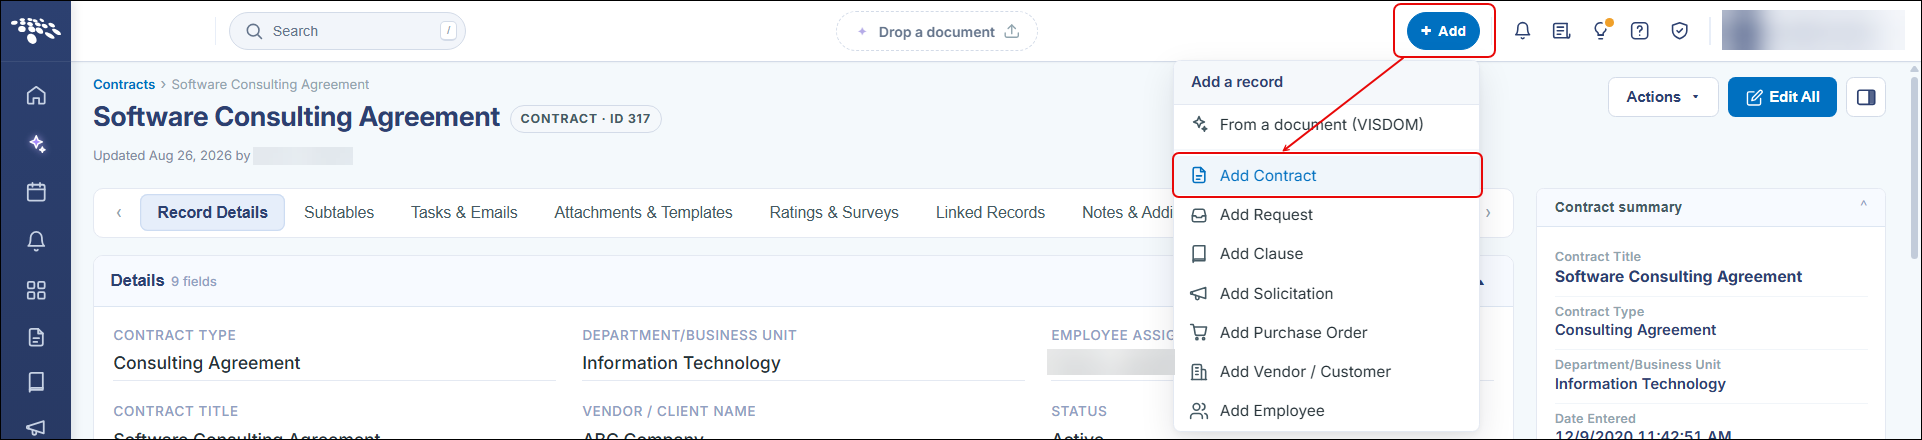
A new contract record is created from the global + Add button (available from any screen) by choosing Add Contract, or from the + Add button on the Contracts list itself. The first step is always selecting a contract type, since the contract type determines which fields, clauses, and workflow apply to the resulting record. Recently used contract types are offered as one-click shortcuts above the full type picker.
● + Add → Add Contract starts the flow from anywhere in the application
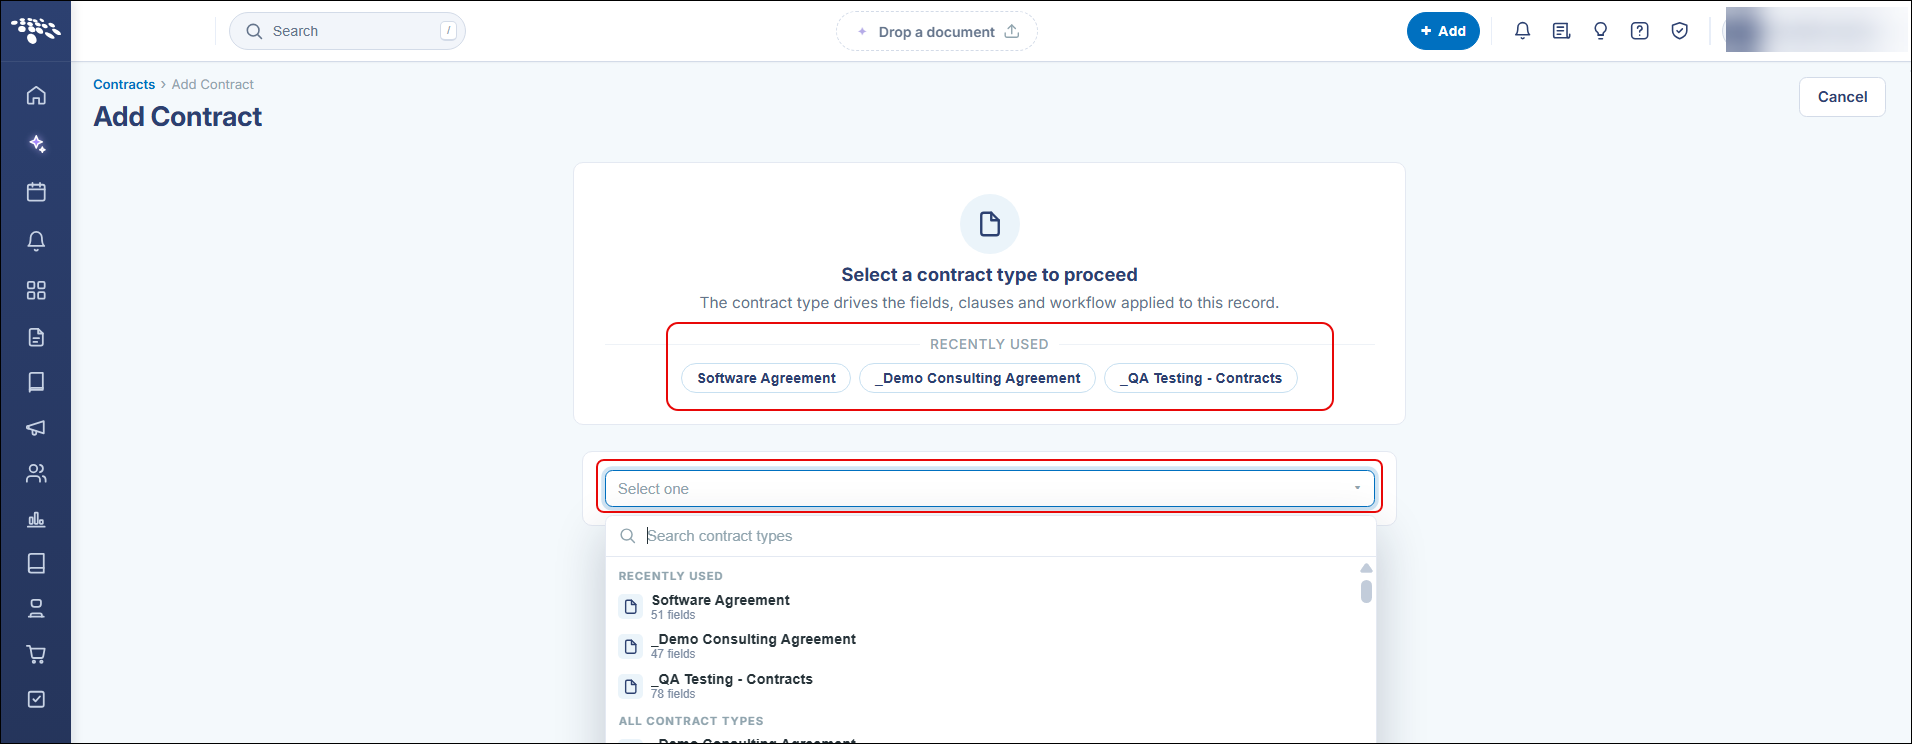
● "Select a contract type to proceed" step is mandatory before the record opens
● Recently Used row offers quick shortcuts to recently chosen contract types
● A Select one dropdown lists every available contract type
● The chosen contract type drives the fields, clauses, and workflow applied to the record
1. To add a contract into the system, go to the header and click + Add then Add Contract OR from the Contracts list, click the + Add button at the top right of the grid.

2. The Add Contract screen displays. From this screen, you can choose from a drop down list what type of contract you would like to add. After selecting the type of contract to add you will automatically be directed to the Add screen.
Note: Depending on the contract type you select to create, the Add Screens will look slightly different from one another. Your Application Administrator can alter the fields for each contract type in the Field Management section of the Administration area. Please be sure to enter all required fields.
3. Required fields are marked by a red asterisk *. There is also an option to only view fields that are required on the form.
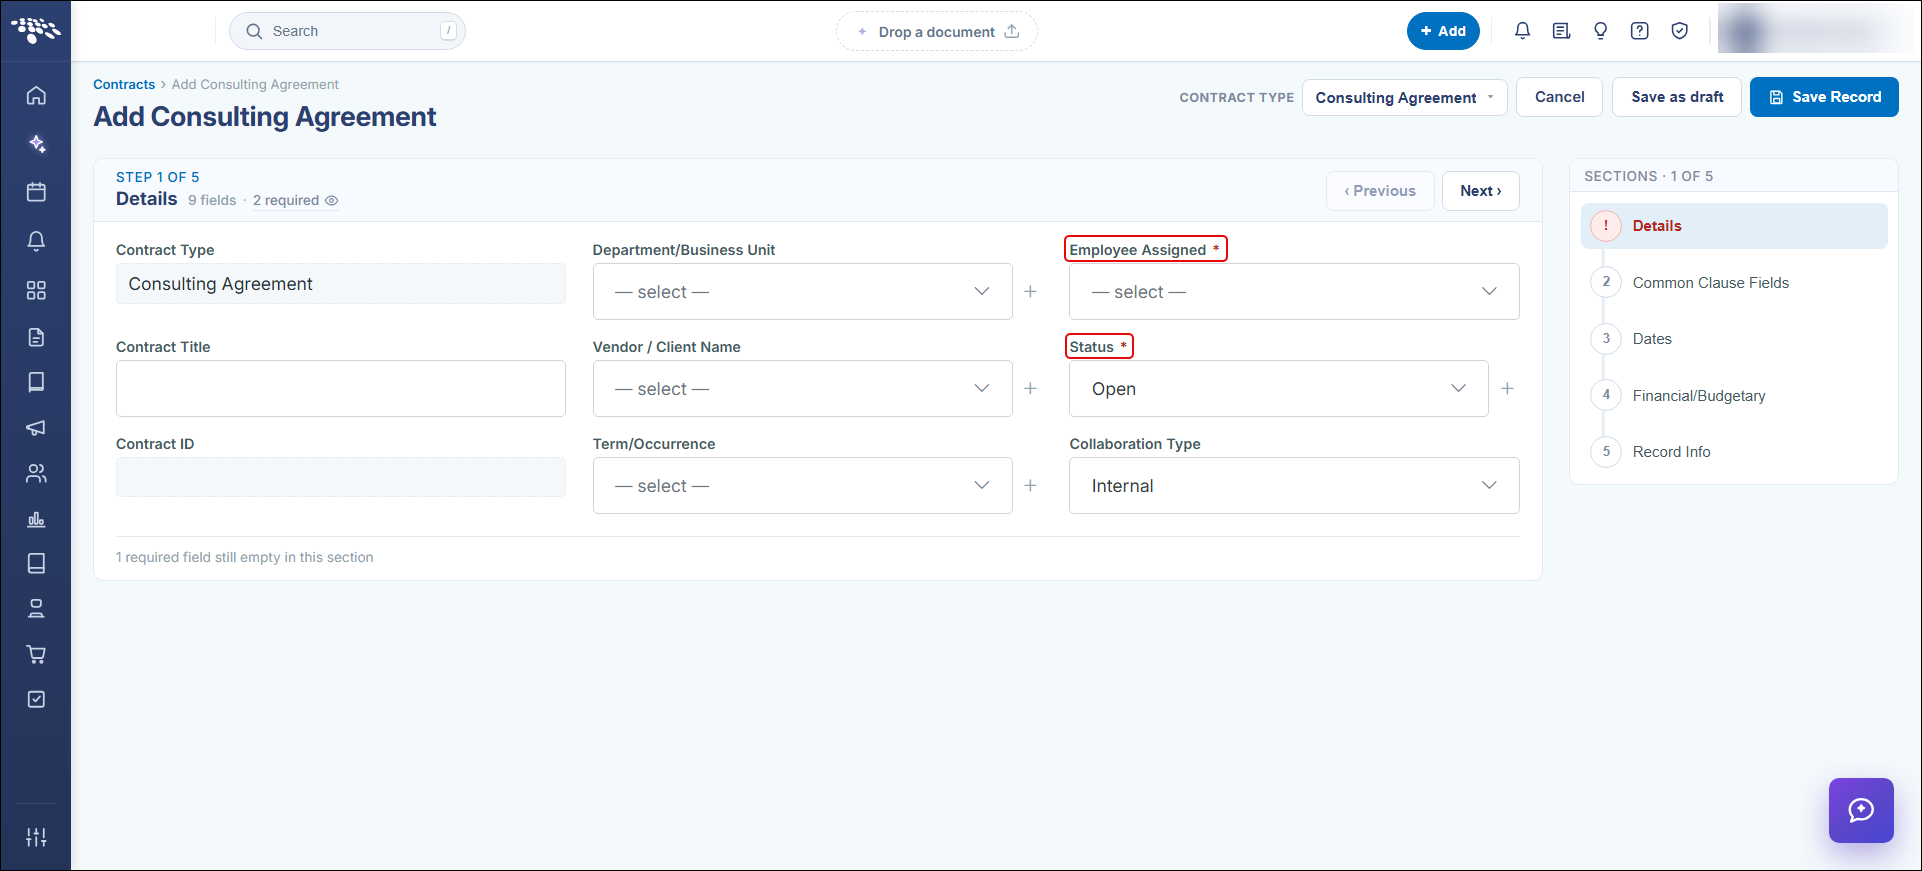
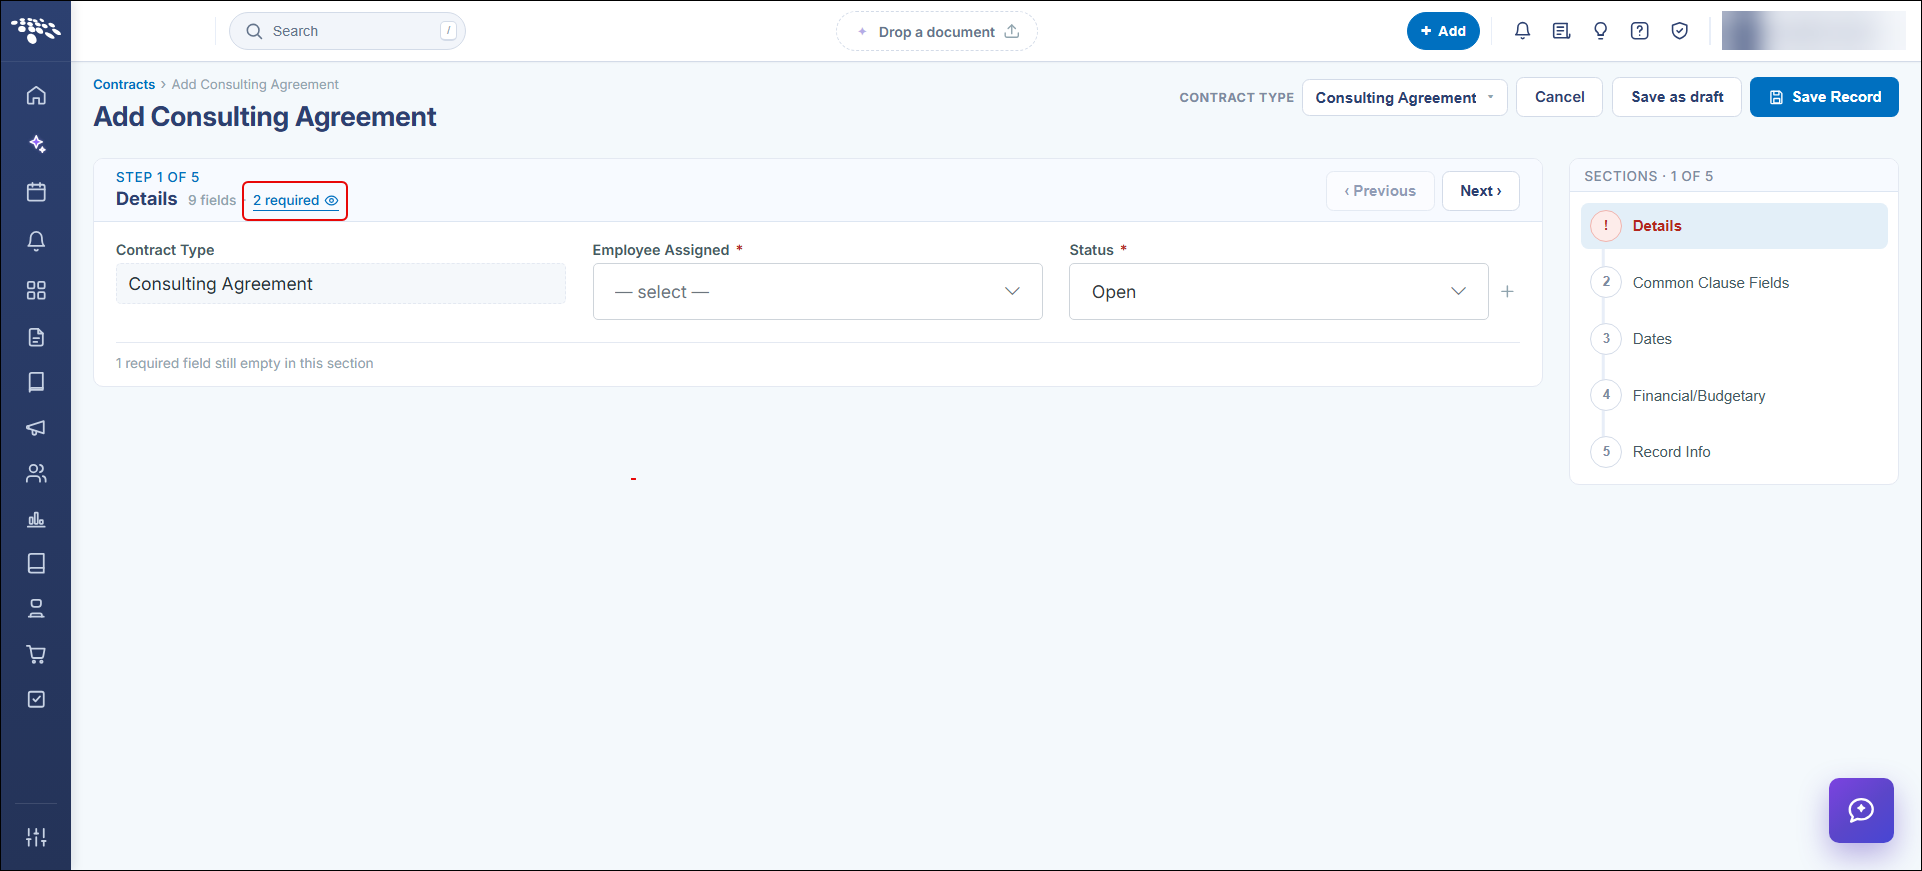
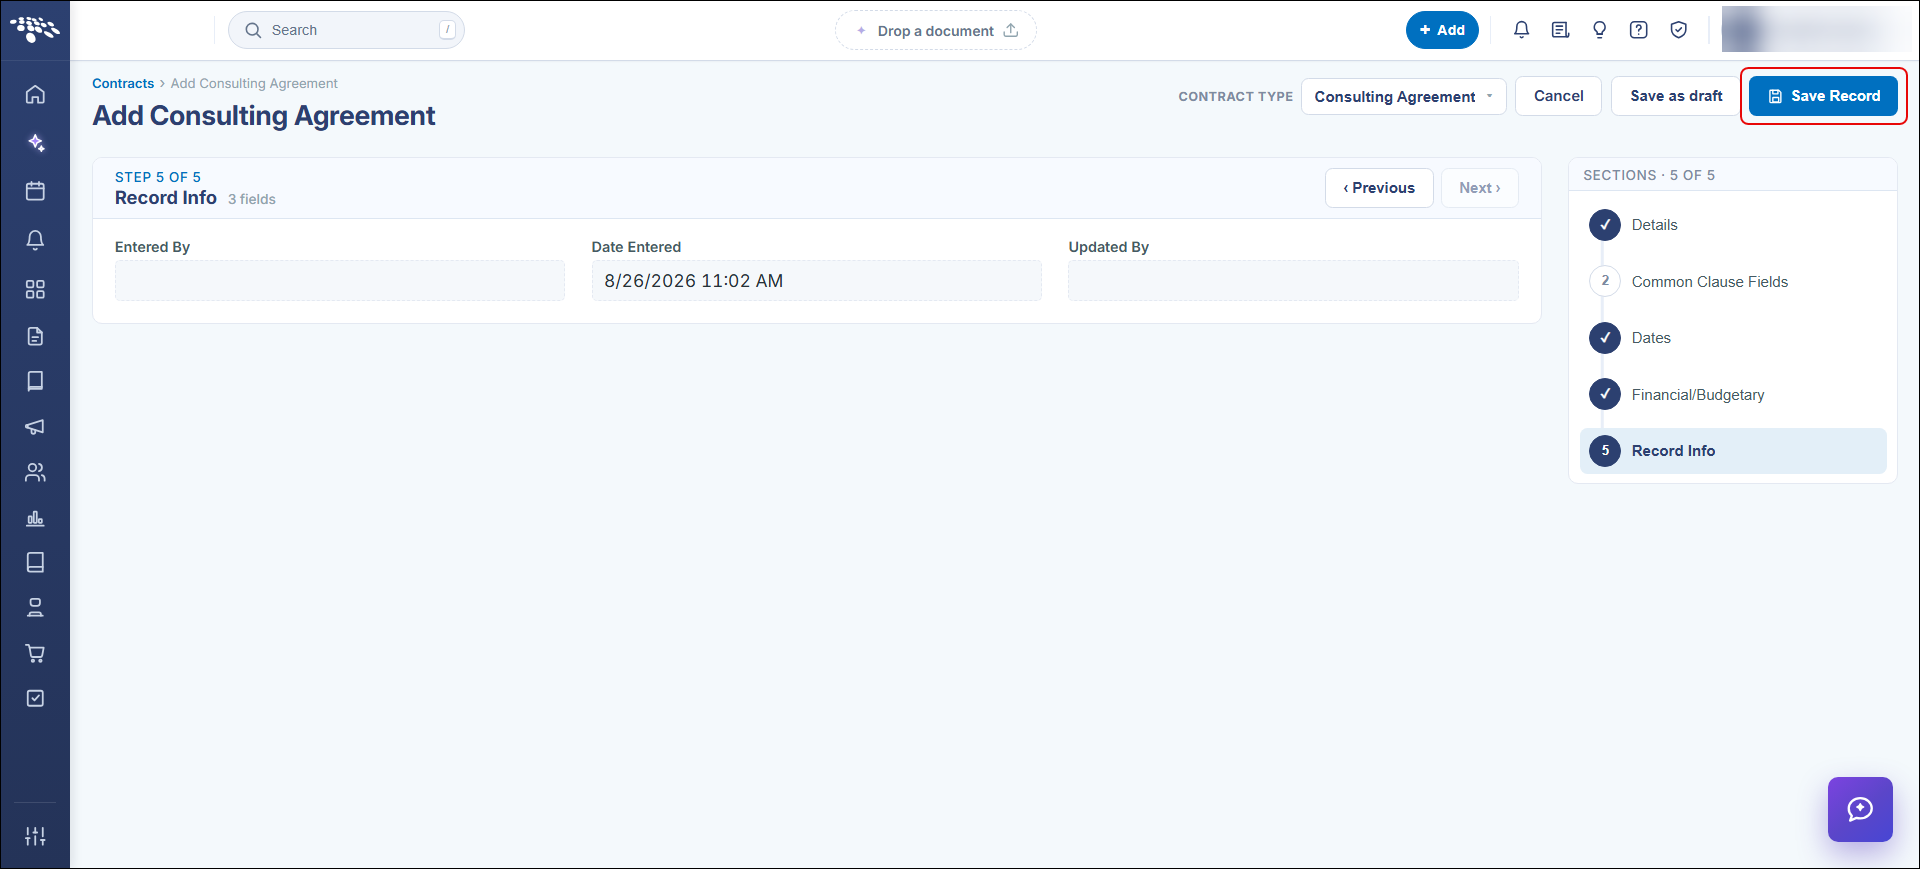
After entering all required fields (at a minimum), click the Next button at the top right of the field group to proceed to the next section. Once all sections are complete, click the Save Record button at the top right of the page.
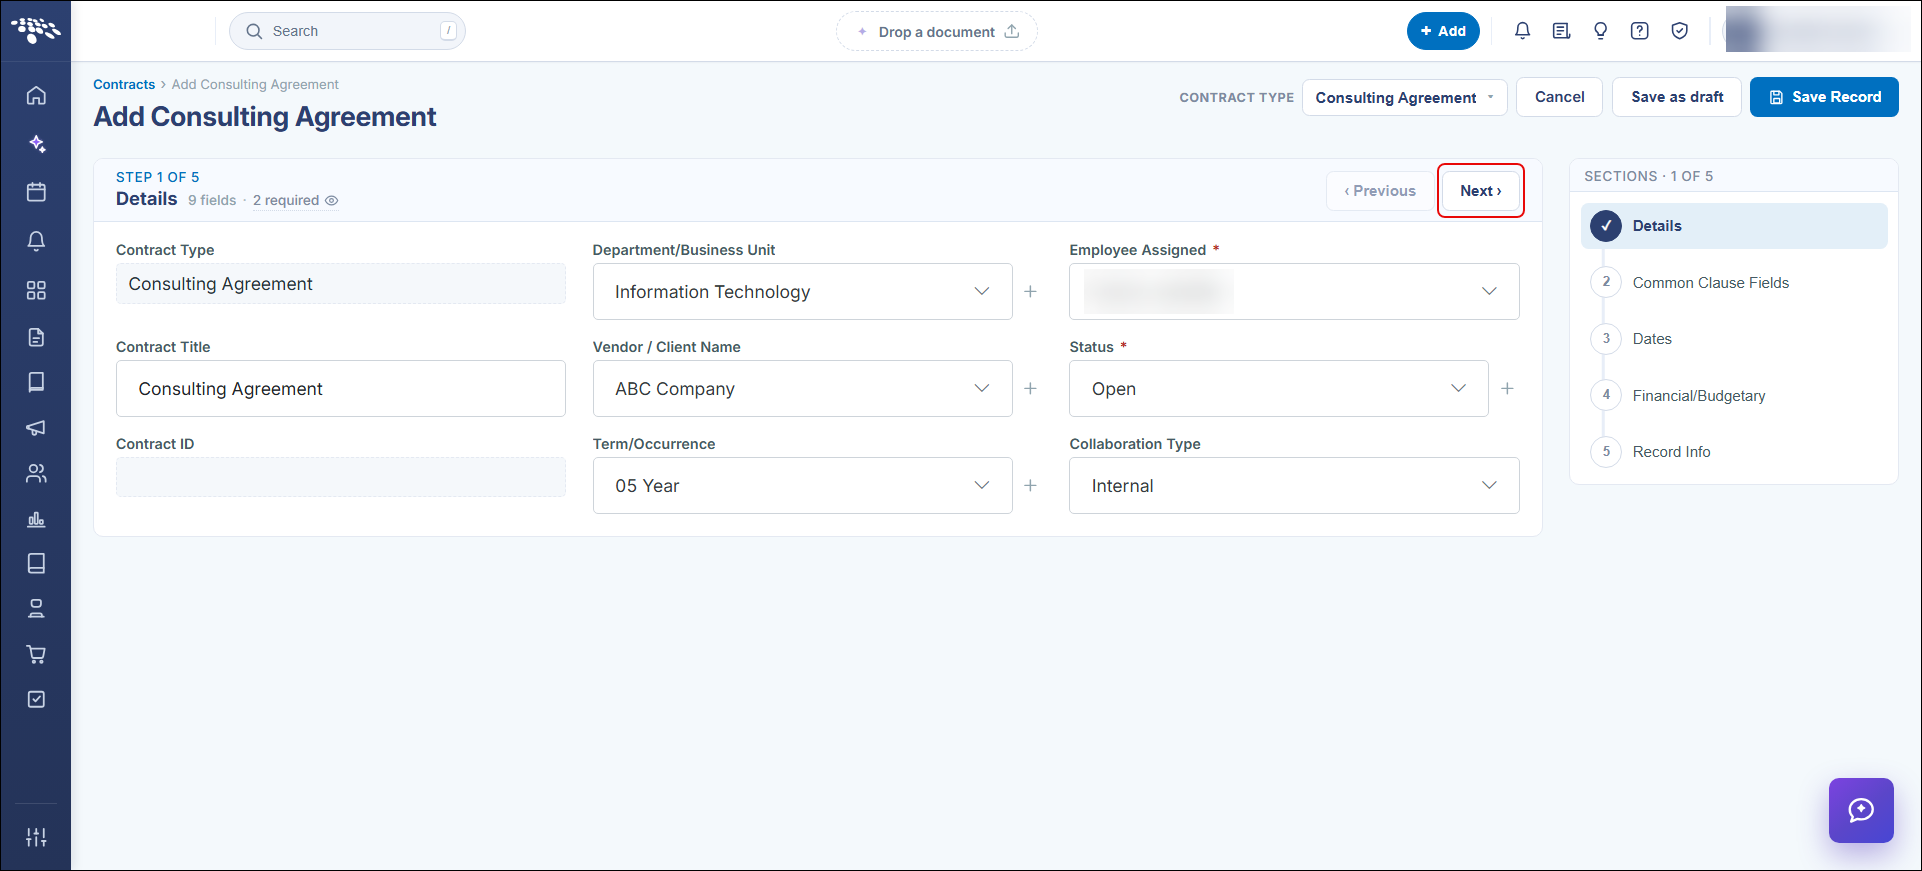
Note: For long drop down lists (for example, Vendor drop down), click the drop down arrow for the drop down list to appear, then begin typing the name of the value you would like to select. The system will automatically filter the selections based on your entered value.
Note: Grayed out fields, those that cannot be edited, may be different in each Contract Insight system. Contact your Application Administrator if you have any questions about areas that need to be altered/edited. Also, some fields may be auto-filled upon selecting Save Record.
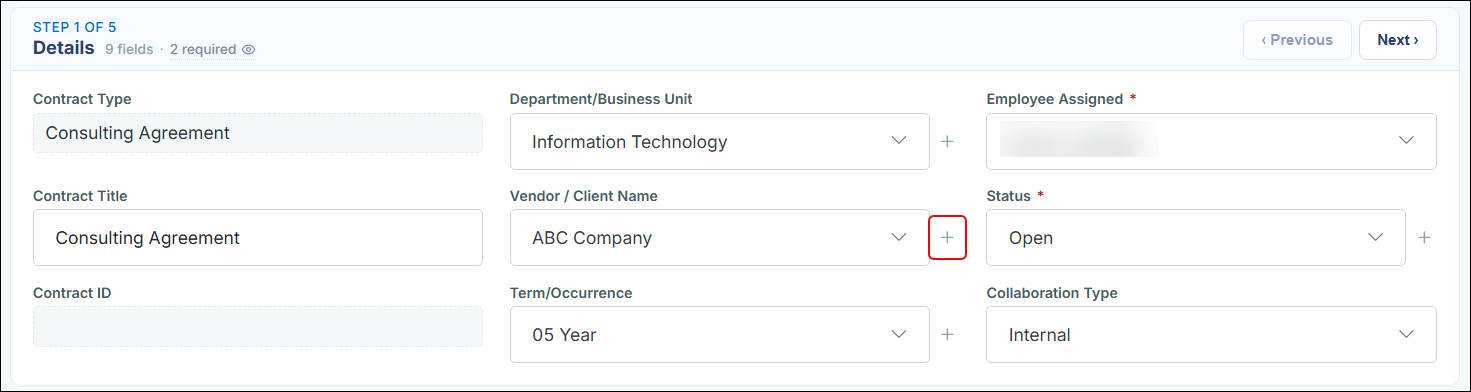
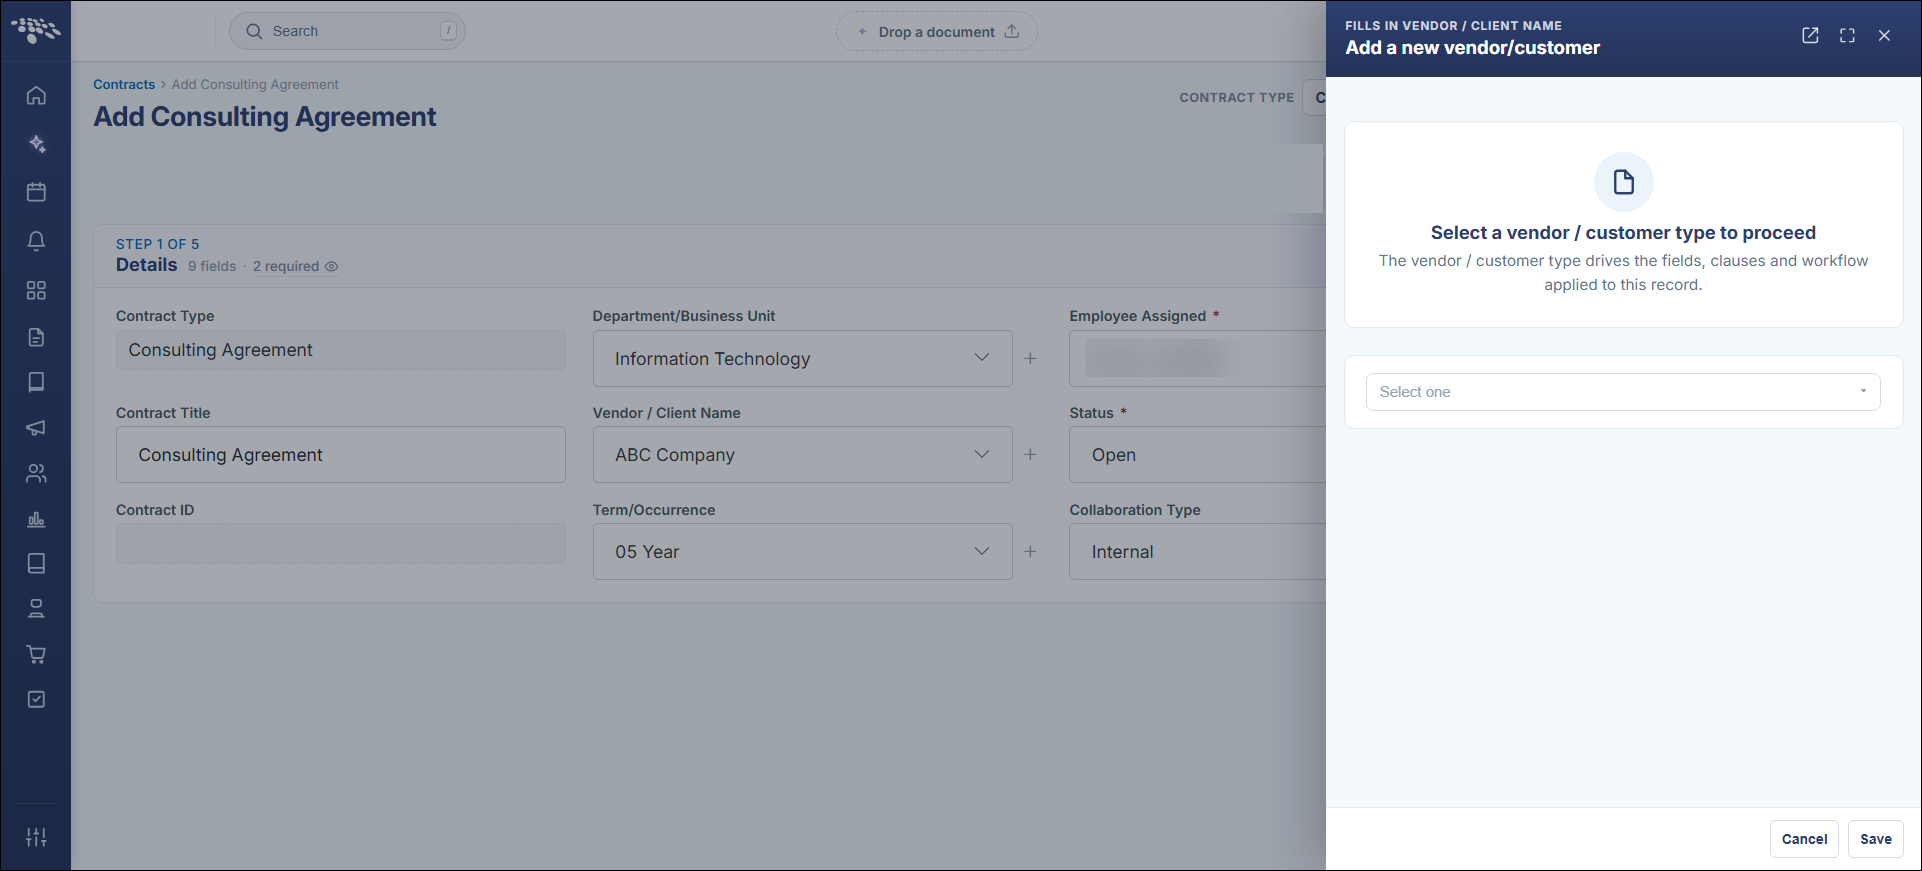
If configured, users with permission may may also add a new company (or other metadata) from the Add Contract screen once you select the type of contract you will be adding.
Simply click the + sign next to the field you want to add a new value for and the Add screen for that field will open from the side.
Note: If the expiration date entered is earlier than the expiration date, a warning displays : Expiration Date can't be earlier than Effective Date.

Committing a Record
Once you click Save Record to create the new Contract Record, Contract Insight advances to the Contract Details screen for the new record.