Solicitation Attachments
Solicitations: Attachments
Like in so many other areas of Contract Insight, files can be stored on individual solicitation records.
To Access the Attachments Section of the Solicitation Record
1. To access the attachments section of a solicitation record, click the Files/Attachments on the side menu of the Solicitation Details screen to open the Files, Documents, Attachments section of the solicitation record.
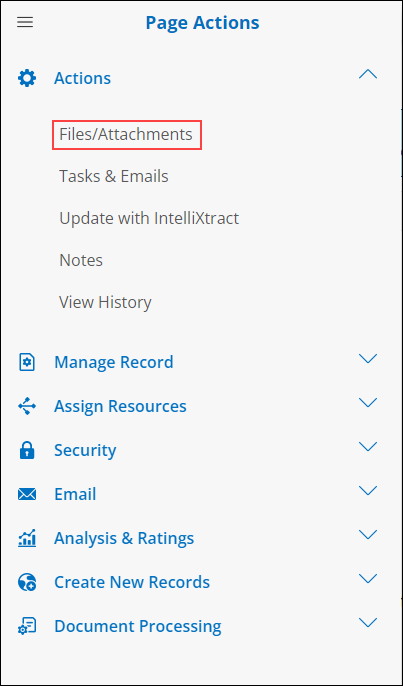
2. Alternatively, scroll down the Solicitation Details screen to the Files, Documents, Attachments section. Both methods go to the same place.
Adding, Managing & Viewing Attachments
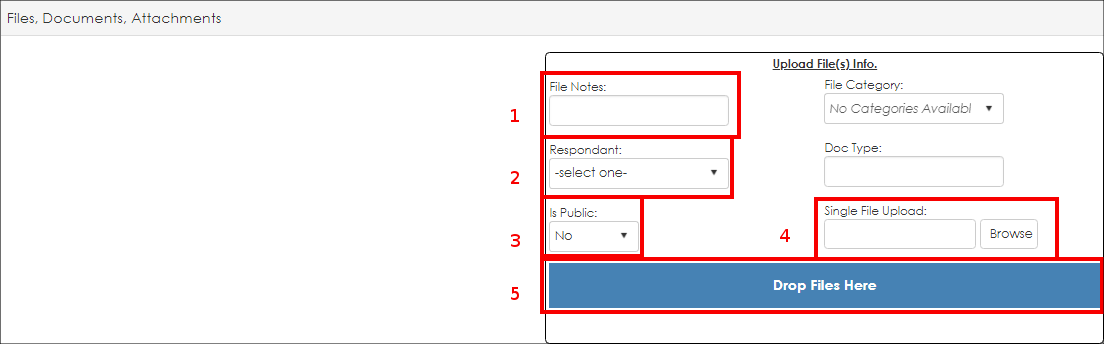
1. Optionally, add any notes to the file (for example, if it is a final draft, 1st draft, etc.)
2. The Respondent drop-down menu is mainly used for manually assigning attached files as being from a respondent (for example, if a respondent’s documents are submitted via the postal service, the documents can be scanned and labeled as being from the respondent).
Note: When a respondent submits their documents through the Vendor/Client Gateway, that respondent’s name will automatically be assigned to the documents for internal viewing.
3. Select if the document is to be public using the drop-down menu next to the Public label.
a. If Yes, Vendors/Clients will be allowed/enabled to see the document when viewing the solicitation in the Vendor/Client Gateway (optional Add-On). Public attachments are available to potential respondents when searching the Solicitations Portal.
b. Select No if the document is only being used for drafting/editing internally.
4. To add an attachment, click Browse to search for the document you would like to attach.
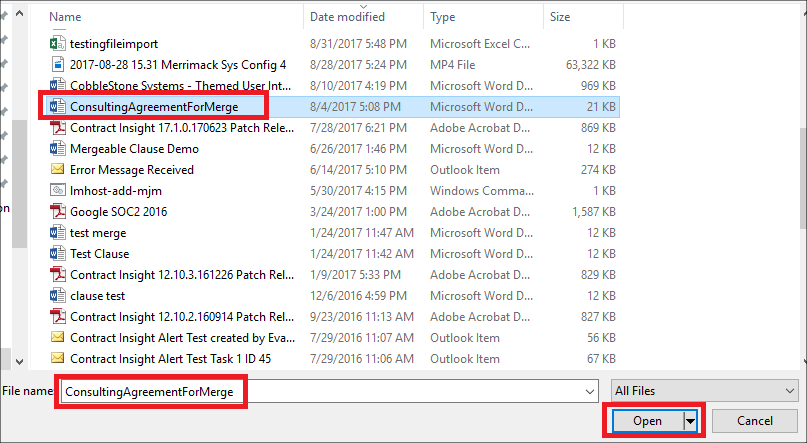
a. Select the file to attach to the solicitation record and click Open.
b. The file name/file address displays in the text-box and the file is uploaded to the record.
Note: After attaching and saving an attachment, do not click the browser’s refresh button. Doing so will repeat the last action of attaching the file without warning or notification.
5. Alternatively, drag and drop the file(s) to be attached onto the blue rectangle labeled Drop Files Here (it may become black when a file is over it).
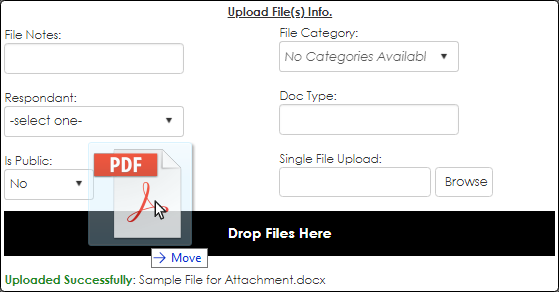
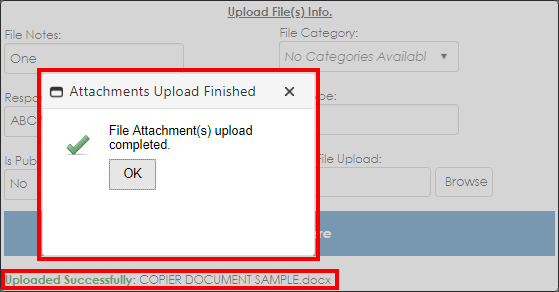
When the file is attached, a pop-up window displays indicating the upload/attachment was successful. A message indicating the file name and the success also displays in the file upload area.
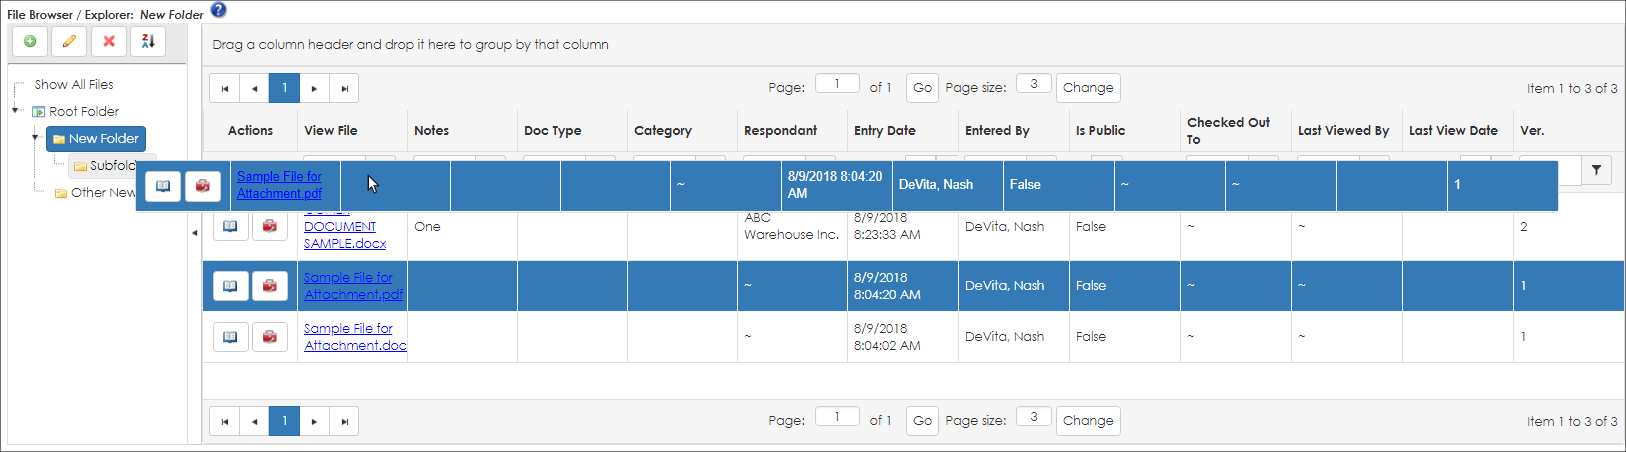
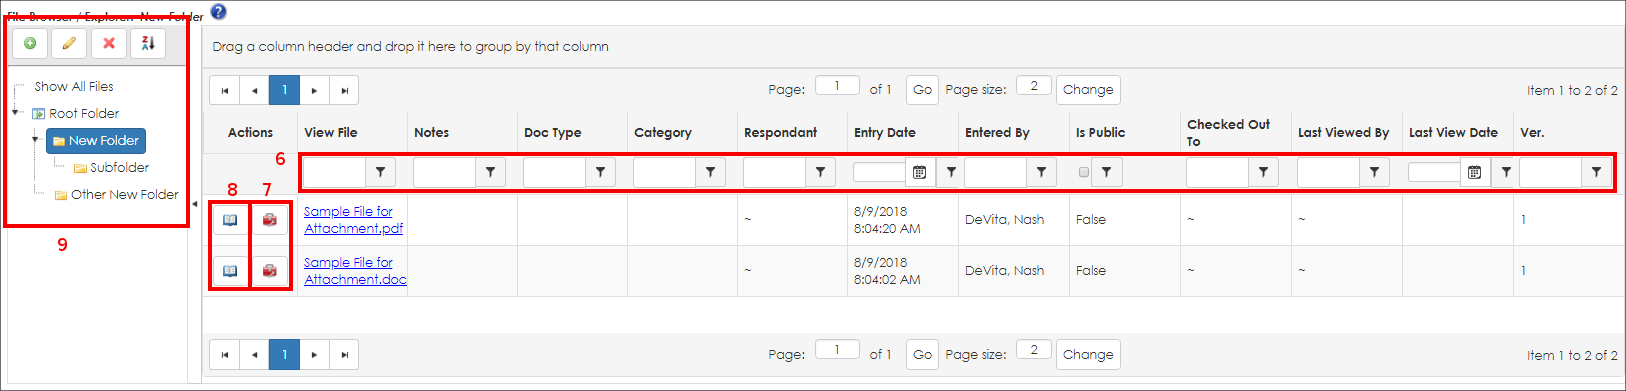
6. Filter the attachments displayed by entering in a keyword(s) under the column name by which to filter and then clicking the filter icon ( ) to select how to filter the attachments.
Example:
To view just the attachments that have final in the notes section of the attachments, enter the word final into the text-box below the Notes header and click the filter icon. A user could then choose from a drop-down menu to have the filter for contains to just records with the word final.
Only the attachments with a note containing the word final will show.
7. Attached files/documents can be managed via the toolbox icon ().
Within the toolbox, options for the following are present:
- Esign the Document
- Manage the Document
- Run a text comparison with another document attached to the record
- Lock/Unlock access to the file
- OCR the file (Review our OCR Preparation Guide to help provide better accuracy and fewer errors during processing.)
- Set download options
- View the file’s history
8. Click the book icon ( ) to preview the file/attachment without downloading it.
9. Create new folders by first selecting the parent folder and clicking the plus icon ( ). Multiple layers of folders can be created this way.
a. Click the file line item to have the row turn blue.
b. Drag and drop the file to the desired folder.