Single Sign On Configuration
Single Sign On: Configuration
By way of an optional add-on Single Sign On module, Contract Insight can be configured to permit login via an existing identity authentication provider. Some areas of the system use the SSO login/redirect method to guarantee a user is logged in before being accessing a resource from outside the system (e.g., a task from a Contract Insight alert email).
SSO configuration is best done with the assistance of a CobbleStone® Implementation professional.
Note: Only a system administrator can access this area.
Setting Up Metadata and Certification
The first steps in configuration require data from Contract Insight be provided to the identity provider and data from the provider back to Contract Insight.
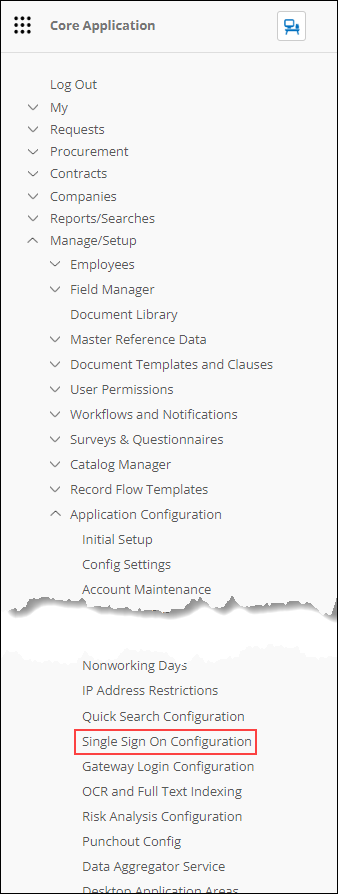
1. Navigate to Manage/Setup – Application Configuration – Single Sign-On Configuration.
2. In section 3 (SAML/ADFS Settings), click Add.

3. Enter the IDP Login URL for redirection when authentication through the external identity provider is required.
4. From the Metadata area, download the appropriate Service Provider Meta Data - some of which require data from the external identity provider.
5. Enter the downloaded data into the Service Provider.
6. From the service provider, download the Identity Provider Certificate.
7. Click Add in the Certificates area of Contract Insight and upload the identity provider certificate.
SSO Settings
The remainder of the configuration revolves around specific settings in Contract Insight.
1. In Global Settings, select the applicable Application Login Method: Standard, ADFS 2.0, SAML 2.0, or Integrated Windows Authentication.

2. For SAML and ADFS logins, select the authentication type of the Single Sign-On Mode. Select either Single Sign-On Only to permit login only through the external identity provider or Single Sign-On and Standard Logins to permit log into Contract via either the external identity provider or the Contract Insight login screen.
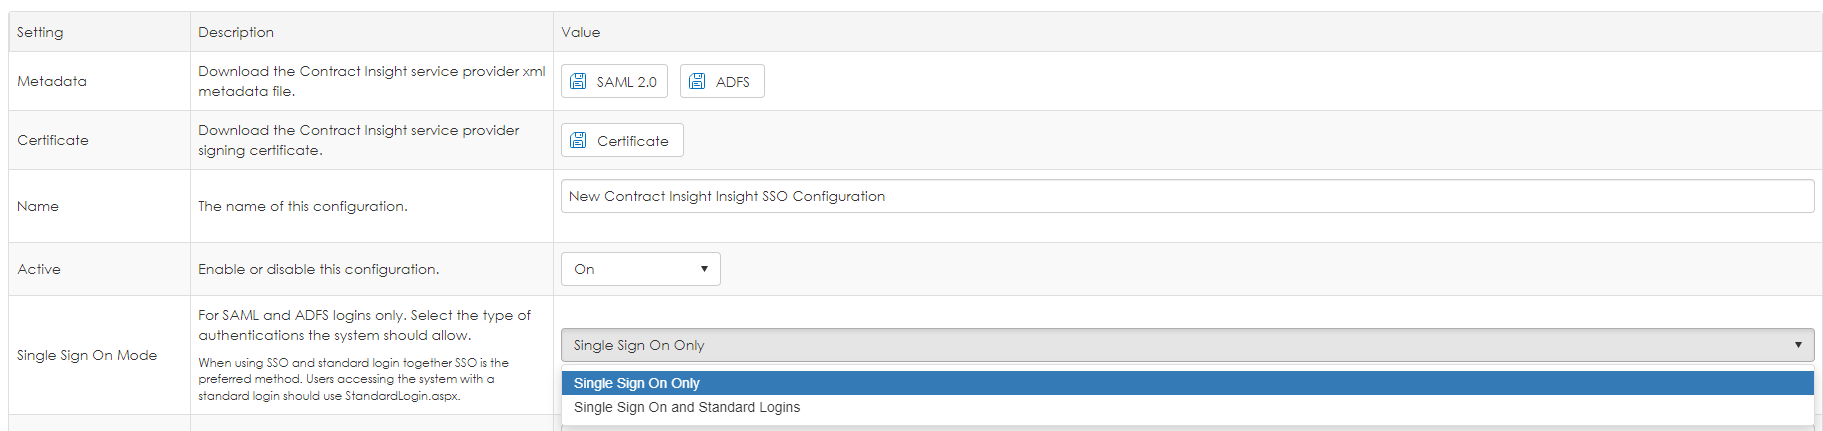
Ensure Single Sign-On and Standard Logins is selected until testing is complete. If desired, switch it to Single Sign-On Only after testing.
To allow both Single Sign-On and Standard Logins, the default page must be exempted from the Single Sign On module.
In systems that are configured to allow both login methods an Authenticate with SSO option is added to the standard login form
3. Enter the IDP Login URL for redirection when authentication through the external identity provider is required.
4. Enter the Audience Restriction URL, typically the address of the page to which the IDP redirects. Audience restriction allows the SAML asserting party to state explicitly that no warrantee is provided to such a party in a machine and human readable form.
5. Enter the SSO XPath to the user name in //nameID format.
6. Select if the SP Initiate Method is Post or Redirect.

7. Enter the Assertion Consumer Service URL to which the IDP should send authentication. This setting is the issuer for SAML or realm for ADFS.
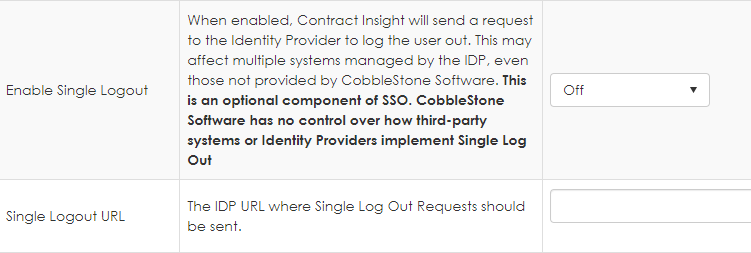
8. Choose to Enable Single Logout or not. When enabled, Contract Insight will send a request to the Identity Provider to log the user out. This may affect multiple systems managed by the IDP, even those not provided by CobbleStone Software. This is an optional component of SSO. CobbleStone Software has no control over how third-party systems or Identity Providers implement Single Log Out. If Yes, enter the Single Logout URL.
9. Select to turn Debugging On or Off. All logins completed via the SSO are entered into the Log are of the Configuration Management: Single Sign On screen.
Note: Keep this on while working on the configuration but switch it off once testing is complete. Leaving debugging enabled can cause a decrease in performance, so it is important to leave this setting disabled during routine use.