Send Secure Email
Secure Email
Secure Email can be sent from contract, request, counterparty, and solicitation records. Secure email allows active users of the system to send emails from the system with a link to direct the recipient to the secure email chain.
Creating a New Secure Email
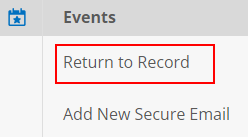
1. While on the record’s details screen, on the side menu, click Secure Email from the side menu.
.png)
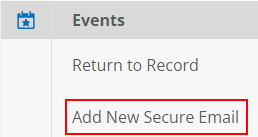
2. The Secure Email Chain List displays. Click Add New Secure Email from the side menu.
3. The Add New Secure Email Chain screen displays.
.png)
4. Complete all fields before sending the secure email:
- From: This field is pre-populated with the email address of the logged-in user.
- To: As you type a name, names appear from the employee list and counterparty contact list. To remove a name, click the X next to the name.
- Expiration Days: Enter the number of days the link is active for responses. Enter 0 (zero) to keep the link active.
- Subject: Enter a subject line
- Use Acknowledgement: Check the box if you want each participant to acknowledge they have viewed the email thread.
- Email Body: You must enter content in the Email body.
5. To add attachments to the email, click Select Attachments. The Attachments window displays.
.png)
6. All files attached to the record display. Mark the box next to each attachment to include it in the email.
7. Click Save and Close to save the selection.
Note: If there are no files attached to the record, the following message displays: There are no attachments available for this record. Click Save and Close to return to the email editor.
8. Once the email is completed, click Send New Secure Email to send the email. A new screen displays validating the email has been sent.
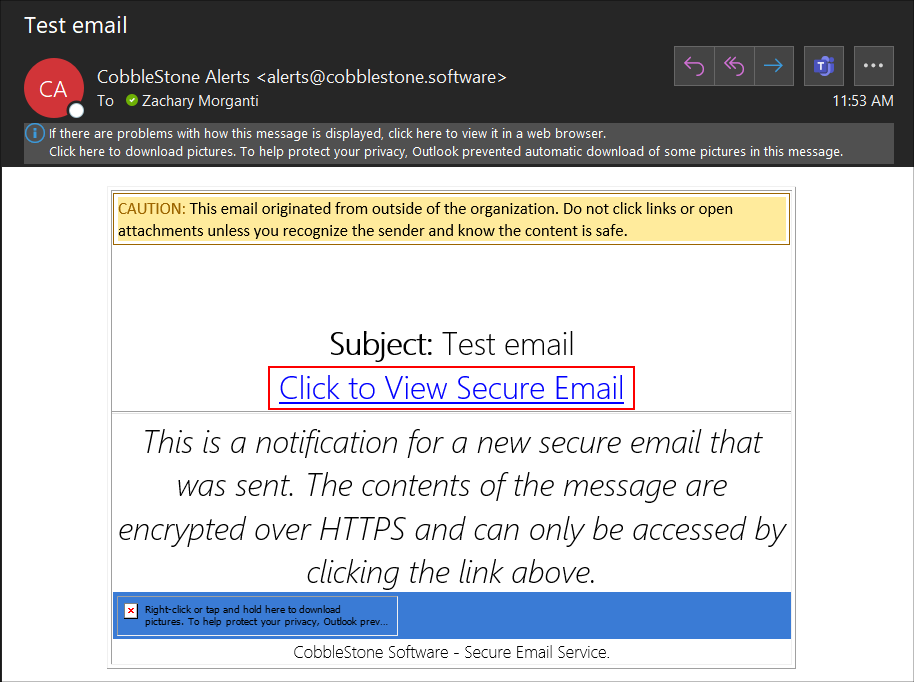
The recipient(s) receive an email with a link to access the secure email. The user must be logged in to the system to review the email.
Replying to a Secure Email
1. When a secure email is received, click Click to View Secure Email in the email.
2. If not actively logged into the system, the link takes the user to the Log In screen (unless your organization uses Single Sign-On). Once signed-in, the system goes to the secure email chain sent in the email link.
.png)
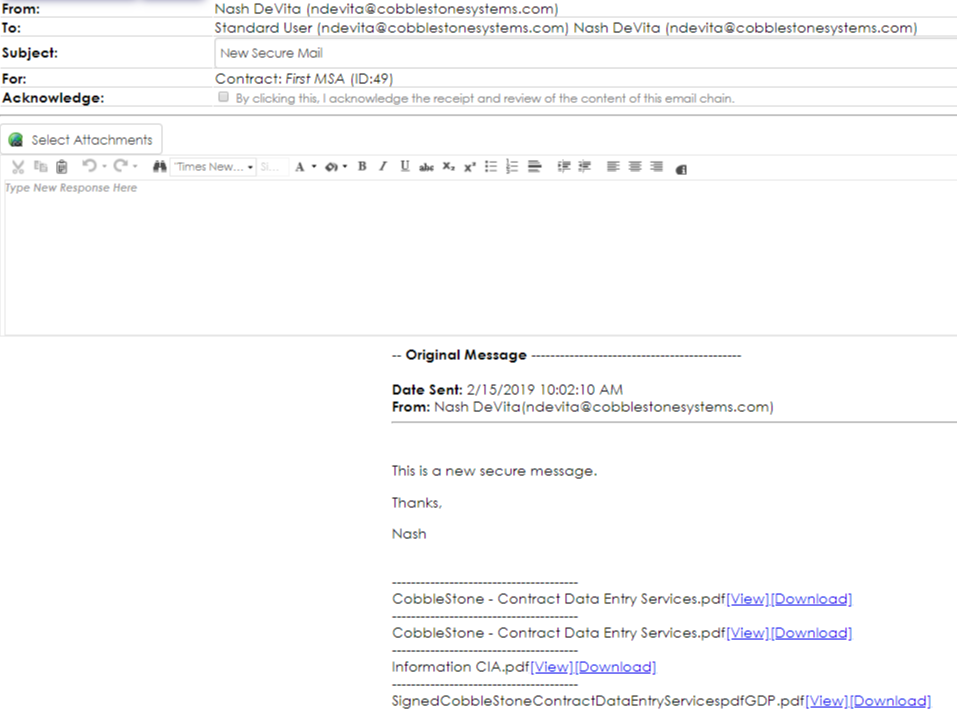
3. Click Add New Response to draft a response. The email editor screen displays.
4. The email is pre-populated with data from the first email. To acknowledge receipt of the email, mark the box next to Acknowledge. This box does not appear if the original recipient does not require acknowledgement.
5. Attachments can be added to the email by clicking Send Attachments.
6. To respond to the email, complete the email body and click Send Response.
Note: Changes can be made to any attachments and uploaded on the file by clicking Return to Record and using the Browse or Drop Files Here options to upload new file versions.
Viewing a Secure Email Chain
1. From the record's details screen, click Secure Email.
.png)
2. The Secure Email Chain List displays.

3. Click View for the line item. The Email chain displays.

4. To respond to the email, click Add New Response.
5. To view acknowledgements, click View Acknowledgements.
Deleting a Secure Email
1. From the record’s details screen, Click Secure Email.
2. The Secure Email Chain List displays.
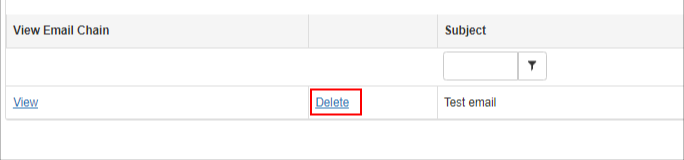
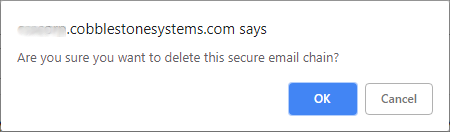
Click Delete for the line item for email chain to be removed. A pop-up window asking you to verify you want to delete the record displays. Click Cancel to abort the removal. To continue deleting the record, click OK.
Viewing and Responding to a Secure Email Via the Vendor/Client Gateway
A counterparty contact can view their secure email on the Vendor/Client Gateway.

1. Click Add New Response to a draft a response.
2. The email is pre-populated with data from the first email. To acknowledge receipt of the email, mark the box next to Acknowledge.
3. Attachments can be added to the email by clicking Send Attachments.
4. To respond to the email, complete the email body and click Send Response.
Note: If there are no files attached to the record, the following message displays: There are no attachments available for this record. Click Save and Close to return to the email editor.