Criteria Creation and Management
Criteria Creation & Management
This page is a continuation of the Create New Workflow page, but the information here can also be used independently/for existing Workflow.
1. Click the Conditions tab to navigate to the selection area. Click Add Condition.

For this example, we are looking to construct a Workflow that will trigger for Contract Records that have their Status set to Pending, so we will select our Criteria accordingly.
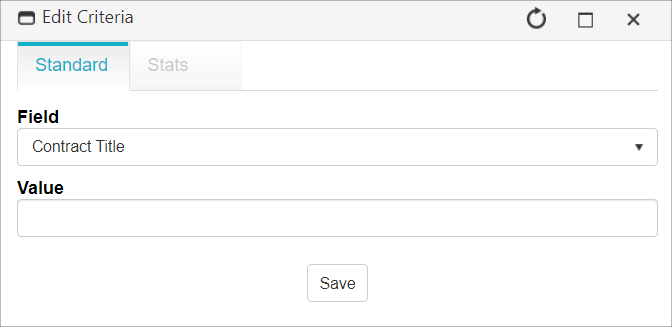
2. Open the Field menu to select the field against which the criterion is to be set.
.png)
3. The Value menu displays. Select or enter the value for the criterion.
.png)
4. Be sure to click Save after selecting/entering the values.
Note: the Value area changes accordingly with the type of field being worked with. Date fields will provide a date range with which to work and Text Box fields will provide a text box for you to type in the criteria value.
.png)

After the Workflow Criterion has been added, it will appear in the list of Workflow Criteria, along with buttons to Delete or Manage/Edit. To edit Workflow Criteria, it is often easier to delete and then re-add than to edit the criteria, as it will involve manually editing the text of each criterion. For more advanced or intricate adjustments to Workflow Criteria, we recommend working directly with your Implementation Specialist or reaching out to CobbleStone® Support.
Please note that any changes to Workflow Criteria will only come into affect when the Workflow is triggered after the changes are confirmed.
.png)
Note: If working with date-based workflow and criteria, the condition will need to be edited and an advanced SQL statement put in its place. For example, if triggering a task based on the date being equal to the expiration date, the statement might look something like this: DATEDIFF(d,GetDATE(),Contract_End_Date) = 0.