Overview
Clients with an Adobe Acrobat Sign license can use our connector to sign documents in Contract Insight using Adobe Acrobat Sign. They can also use Adobe Acrobat Sign as the signing engine to power the IntelliSign and Document Collaboration processes.
- File size/Upload limit: Adobe Acrobat Sign limits the size of each file uploaded to 10MB.
- Pages/Transaction limit: The whole transaction (all files merged) has a total page limit of 500 pages.
- Signers/Electronic transaction limit: The maximum number of people that can be configured on one transaction is 25.
- Supported file types: PDFs, DOC, DOCX, XLS, XLSX, PPT, PPTX, JPG, PNG, GIF, TIF, TXT, RTF, ODT
Getting to Adobe Acrobat Sign
Navigate to a record that contains a file you wish to send out for signing. In the Files/Attachments section, click on the toolbox in the actions column next to the desired file..png)
Click Esign Document.png)
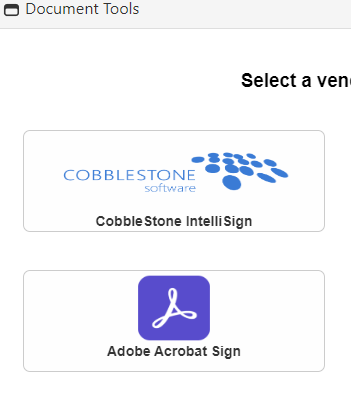
Click Adobe Acrobat Sign
Creating the E-Signature Package
Select Document
Select any additional documents you would like to sent out for E-Signature and click Next. The Document selected through the document toolbox will already be selected.
.png)
Add recipients
To add recipients, you can enter an email address, and choose a Recipient Role (Signer or Approver). You can also click Add Employee to select from a list of Employees, or Add Contact to select from a list of Company Contacts. If the initial row is empty, clicking Add Employee or Add Contact will add them to the empty first row. If the first row is filled, it will create a new row. If you have manually filled the email address field and wish to add another signer manually, click the Add button.
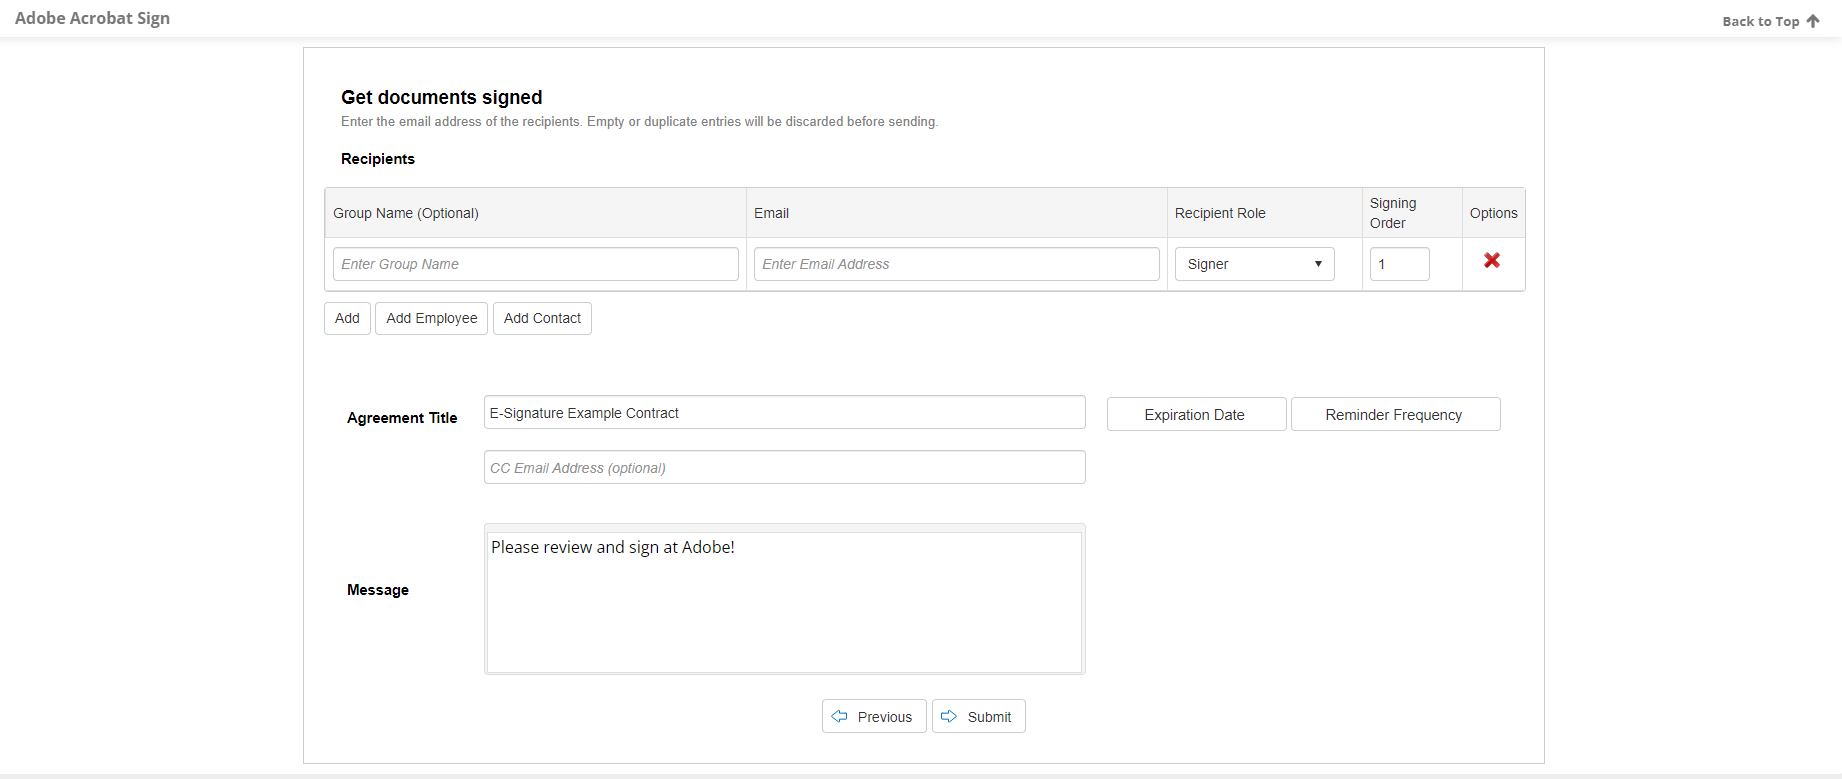
Signing order must be set. This is the order emails will be sent out. You can have multiple emails with the same order number..png)
Setting a group is optional and can be left empty. It can help keep track of multiple emails in a group..png)
To set an Expiration Date, click the Expiration Date button and select a date from the calendar. Click Set to confirm the expiration date. A set date will appear under the button.
To set a reminder frequency, click the Reminder Frequency button. If this choice is set, a reminder email will be sent at the chosen email until the document package is signed. A dropdown menu will appear and you can select from Daily, Every Other Day, or Weekly. Click OK to confirm the reminder frequency, click Clear to remove reminders.
You can customize the email header in the Agreement Title box. The email body can be customized in the Message Box.
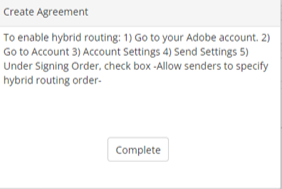
Enable Hybrid routing
To allow Hybrid Routing (Allow senders to precisely define signing order with options to specify which recipients can sign in parallel and which need to sign in a specific order. For example, sender can specify that A will sign first, Then B and C can sign in parallel, and only then D will approve), you can enable it in your Adobe Account under Account Settings > Send Settings > Signing Order > Check the box "Allow senders to specify Hybrid Routing Order".
.png)
Sending to Adobe Acrobat Sign
After filling all the necessary information. Click Submit..png)
Click OK to begin the upload to Adobe Acrobat Sign..png)
.png)
After you click complete, it will open a panel to Adobe Acrobat Sign. You can drag the appropriate fields for your document package onto your document.
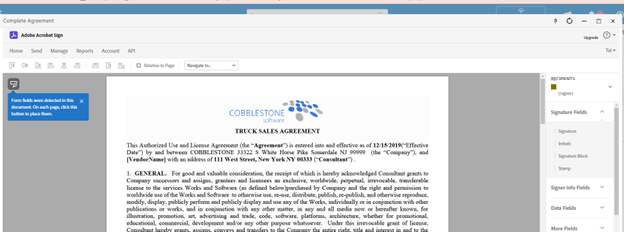
After all the fields have been placed, you can click Send or close the window.
If you click send, it will email the package out for signature to the emails chosen in the Recipients phase.
If you close the window, it will save in the authoring state and you can go back to this page at a later time to send out the signature.
After these steps, it will send you to the edit agreement page.
Managing/reviewing the Agreement
Adobe Acrobat Sign Close Without Send
If the user closed the Adobe window without sending out signature, the edit agreement page will have a link to the authoring page to send out for E-Signature.
.png)
Send Reminder
If you would like to manually send a reminder to a signer, outside of the reminder frequency chosen in the agreement setup, you can click the Send Reminder button next to your desired signer.

Replace User
Enable replace user feature
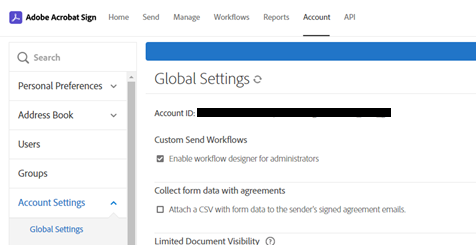
To enable the replace user feature, go to your Adobe Account Settings – Global Settings. Under Replace recipient, check “Users in my account can select whether the original recipient can or cannot participate after being replaced.”
.png)
.png)
Using the Replace Feature
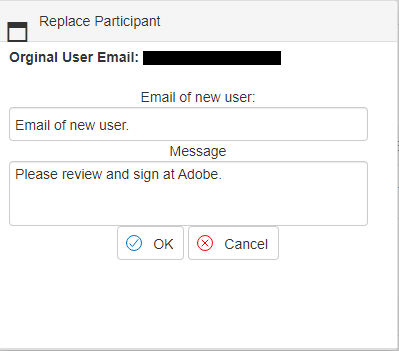
Click the Replace User button next to the Signer you wish to replace.
.png)
Enter the Email of the new user you want to send the agreement to in the Email of new user box. You can edit the message they will receive in the Message box.

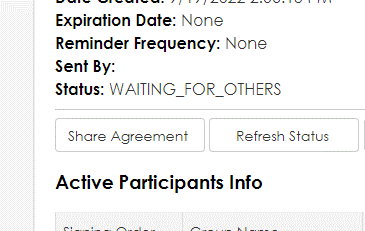
Refresh Status
Click the Refresh Status button to refresh the status of the signature process.
.png)
Share Agreement feature
You can share the agreement by clicking the share agreement button and entering the information.
Adobe Acrobat Sign History
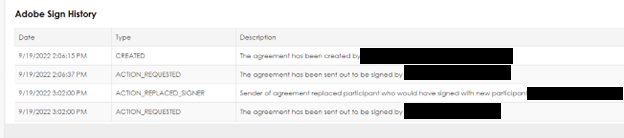
.png)
Manual Retrieve vs Auto Retrieve via Scheduled Jobs
Manual Retrieve
When you return to the edit agreement page after the E-signature has been signed, a pop up will appear and give you options to attach the documents to the record, either combined, seperately, or you choose specific documents on the agreement page.
.png)
Auto Retrieve
The Scheduler will auto retrieve the signed documents, or if you are a system admin you can go to the scheduler and have it run now by clicking Run Now next to Adobe Acrobat Sign Document Imports.
.png)
Document location after retrieval
Edit agreement
You can retrieve the signed document in the edit agreement page under documents
.png)
File Browser / Explorer
The document can be retrieved in the Contract Details page under File Browser / Explorer
.png)
Signing Engine
There is a configuration setting in the General Group of the Document Authoring Section to set a Signing Engine for IntelliSign and the document collaboration process. The options are the default IntelliSign or Adobe Acrobat Sign if licensed.
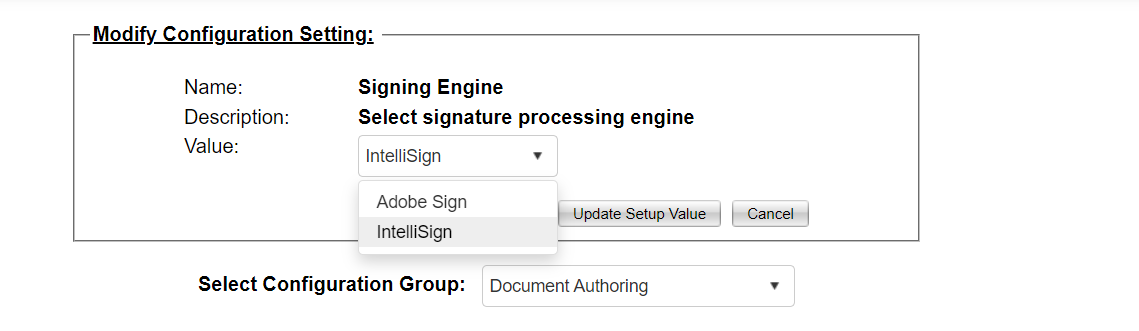
When Adobe Acrobat Sign is selected as the signing engine, the Adobe Signing process will be used when selecting an IntelliSign, IntelliSign from Merged Document Template, or New Signature Process from Merged Template. The process will function in the same manner as the regular Adobe Acrobat Sign connector. Users will be able to tell if Adobe Acrobat Sign is selected as the signing engine by the header of the page:

Using Digital Signatures
For more in depth information about Digital Signatures, please see this documentation from Adobe: https://helpx.adobe.com/sign/using/digital-signatures.html
- Go to https://secure.na1.echosign.com/account/accountSettingsPage#pageId::ACCOUNT_SETTINGS
- Click Account
.png)
- Click Digital Signatures
.png)
- Select the signature providers you would like the signee to be able to use.
- On the Authoring page drag in Digital Signatures to the place holder spot.
.png)
.png)
.png)