Solicitation Tasks and Workflows
Solicitations: Accessing the Tasks and Workflows Section
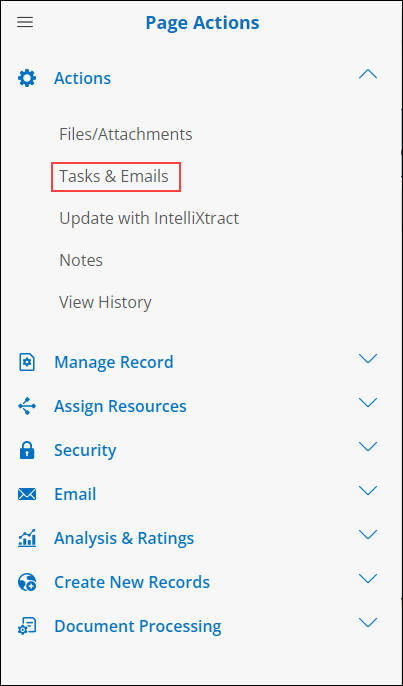
1. To access the Tasks and Workflows section of a solicitation record, click Tasks & E-mails on the side menu of the Solicitation Details screen.
2. A the same section by scrolling down the Solicitation Details screen to the Tasks and Workflows section of the page. Both methods go to the same area.

Adding a Task
1. To add a new task/alert, click Add Task in the Tasks and Workflows section to open the Add Task screen.

a. All fields on the Add Task screen are user-definable by authorized users. To modify the fields, navigate to Manage/Setup > Manage Fields > Field Manager.
b. Required fields can be added/removed through the Field Manager as well.
c. Be sure to enter all information into the required fields (marked by a red asterisk).
d. The Employee drop-down menu is important (also required) because this is who receives the alerts for the task being created.
e. The Task End-Date is important because this is when the task is due to be completed by and is an alert date as well.
f. To notify the employee to the upcoming end-date, enter the number of days (before the end-date) in the Notify Days field. The number of Notify Days entered triggers an alert that number of days before the Task End Date.
g. The grayed-out boxes at the bottom of the Add Task screen are Read-Only fields that are populated automatically after clicking Save.
h. Once all necessary/required information is entered, click Save & Continue at the bottom of the screen to add the task/alert.
2. Once the new task is saved, the system displays the new task’s details screen.

Managing & Editing Tasks
1. To manage and edit a task’s details, click View for the line item to view on the Solicitation Details screen.

2. The Task & Event Details screen displays. From this screen, edit the task by clicking the pencil icon ( ) for the corresponding line item. Edit a Field Group’s fields simultaneously by clicking the pencil icon next to the Field Group name.
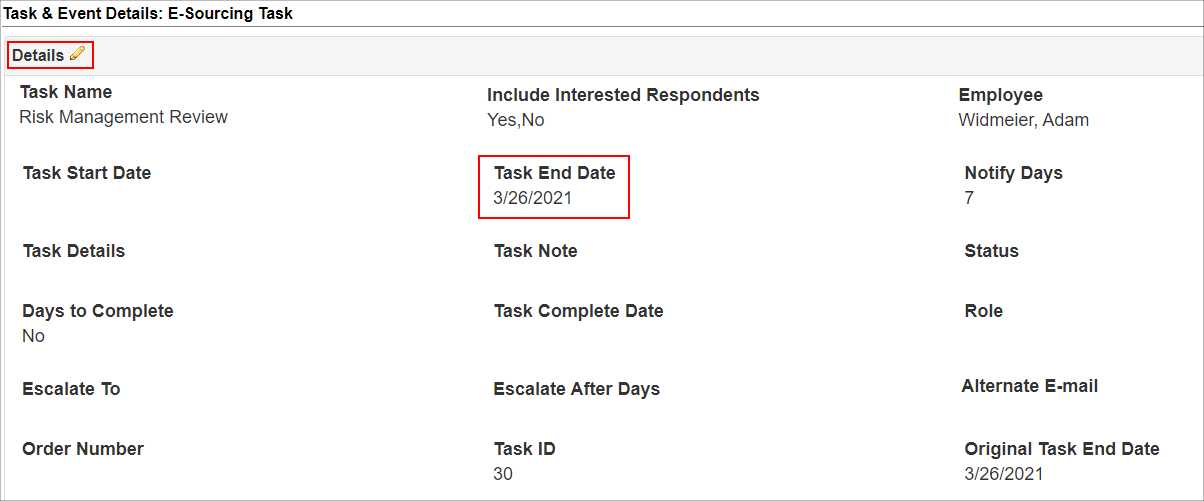
1. The Edit Field screen displays.
2. Click Save Changes to save the changes made.
3. Click the X in the upper right corner of the window to cancel the changes and go back to the Task Details screen.
Assign additional employees to receive alerts for the task
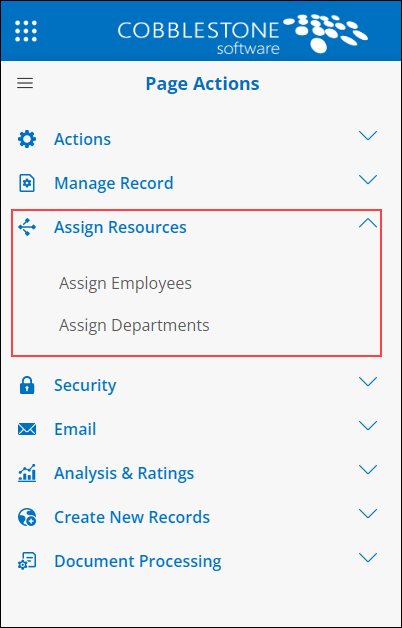
1. To assign additional employees to receive alerts for this task, click Assign Employees/Departments and make sure they receive emails in the Details section.
2. Select/highlight the employee’s name in the Available Employees box and click the Blue Arrow to add the employee’s name to the Assigned Employees box.
3. To un-assign an employee from receiving alerts about this task, highlight the employee’s name in the Assigned Employees box and click the Red Arrow to remove the name.

4. Click Return to Task Details on the side menu when finished assigning/un-assigning additional employees.
Delete the task
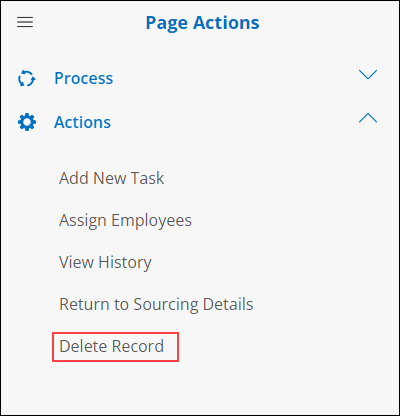
1. To delete the task, click Delete on the side menu of the Task Details screen.
2. Confirm the deletion by clicking Yes, delete it.
3. Cancel the deletion by clicking No, Cancel the delete.
Add an additional task for the same solicitation record
1. To add another task, click Add New Task on the side menu of the Task Details screen.
2. This opens the Add New Task screen.

Mark the Task as being Completed or Rejected
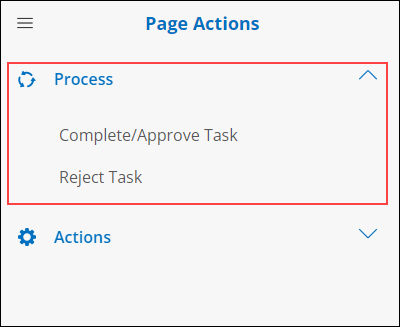
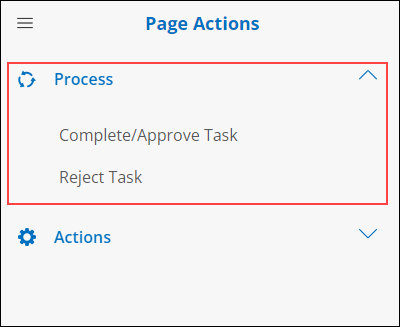
1. To mark a Task as Complete, click Complete on the side menu of the Task Details screen
2. To mark a Task as Rejected, click Reject on the side menu of the Task Details screen.
Set the task to repeat/recur
To set the task to repeat/recur, enter the repeat criteria into the appropriate boxes and click Add.

Return to the Solicitation Details screen
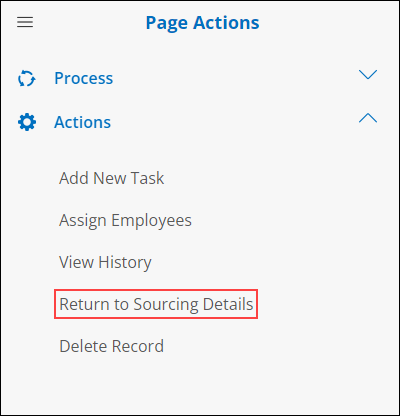
Click Return to Sourcing Details screen on the side menu of the Task Details screen.
